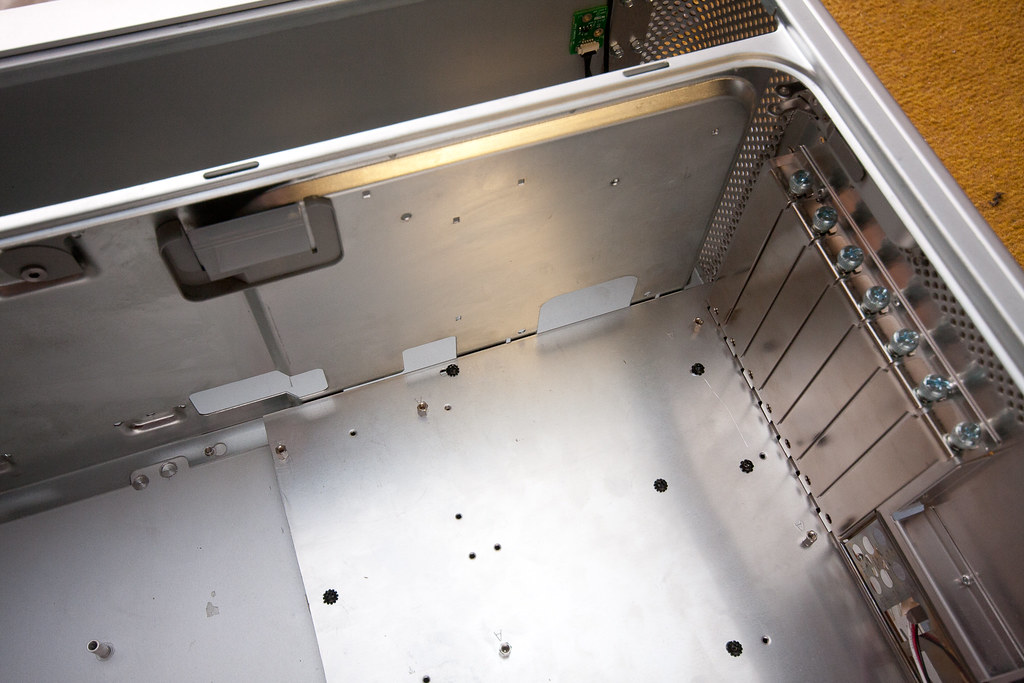
The next task was fixing the motherboard tray in place. From the guides I have seen, many people used JB Weld to fix the old mounting posts into new positions. However this is not available in the UK so I continued without it for now. Note that the motherboard mounting posts of 2 different heights for some reason. I removed all of the taller posts (by gripping them with pliers and with a little force they break away from the case) and left all the shorter ones in place.
The difficulty was working out where I needed to drill the holes through the motherboard tray to line up the mounting posts that were left. To do this I covered the back of the tray in a couple of layers of masking tape, put the tray in position and pressed down where I thought the mounting posts were. This left small rings imprinted in the surface of the tape, so I knew exactly where to drill.
This worked pretty well, only 1 post was horrendously out of position so I had to re-drill this hole. This wasn’t really a problem seeing as the tray would be hidden beneath the motherboard. I managed to use 10 of the existing mounting posts and as it turned out these were quite sturdy and so no screws were required on the back of the tray to hold it to the back of the case. This was a bonus as I really didn’t want the back of the case to look too messy.

No comments:
Post a Comment